You can upload and download from AWS S3 inside val functions.
In this guide, you’ll create an AWS bucket, an IAM user, and then test your set up is correct by uploading and downloading a small text file.
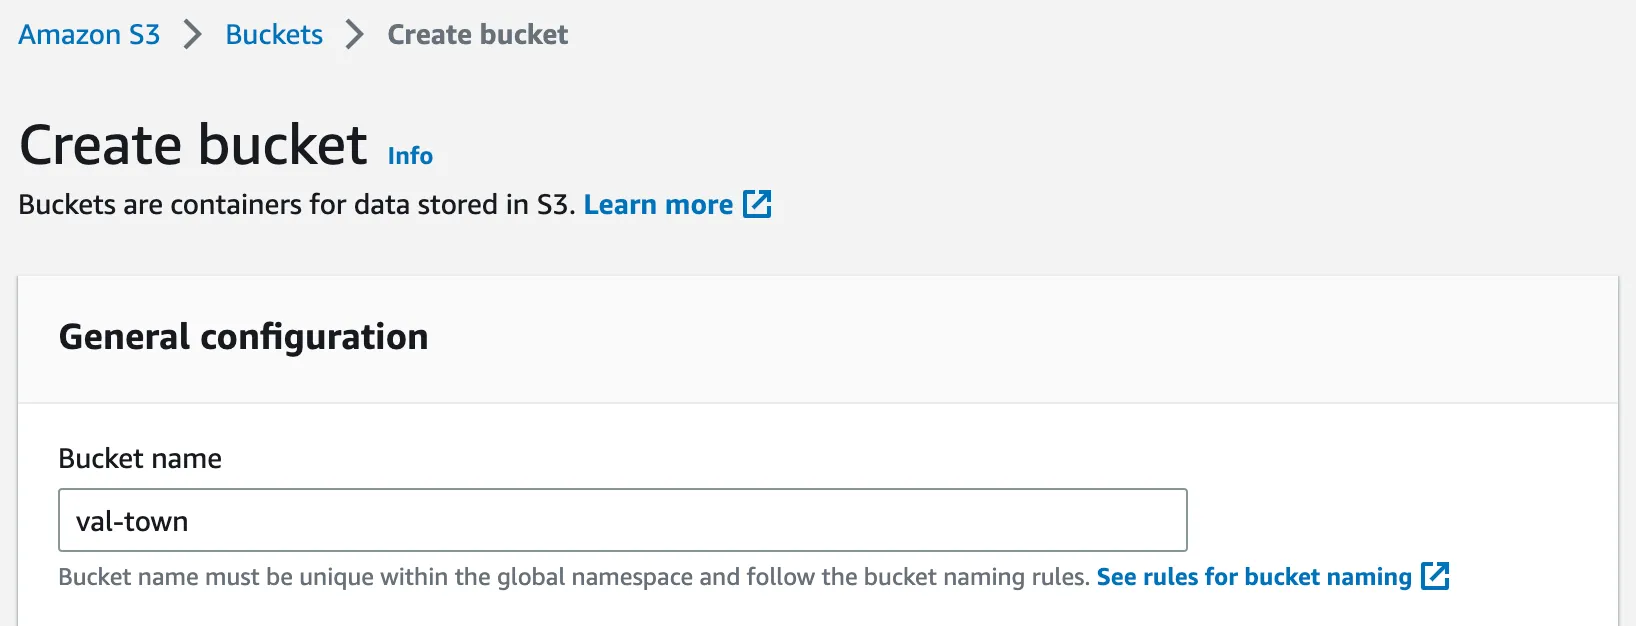
Create an S3 bucket
Section titled “Create an S3 bucket”Log in to the AWS Console and go to https://s3.console.aws.amazon.com/s3/bucket/create
Create a new bucket by choosing a Bucket name (leave the defaults for everything else).
Save the Bucket name and your AWS region as
Val Town environment variables as awsS3Bucket and
awsS3Region respectively. Although these values aren’t secrets, doing this
means you can copy and paste the val examples in this guide without making any
code changes.
Continue to use this AWS region for the rest of this guide.
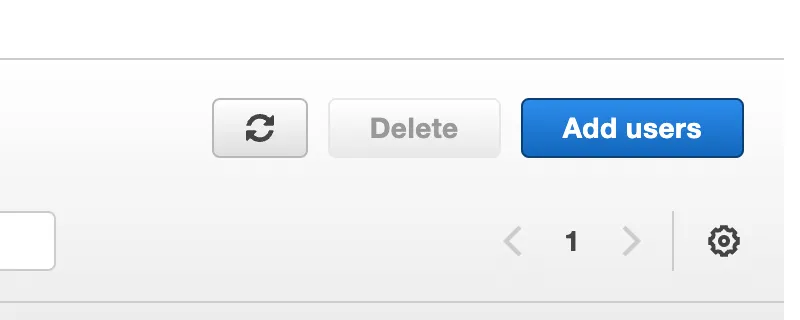
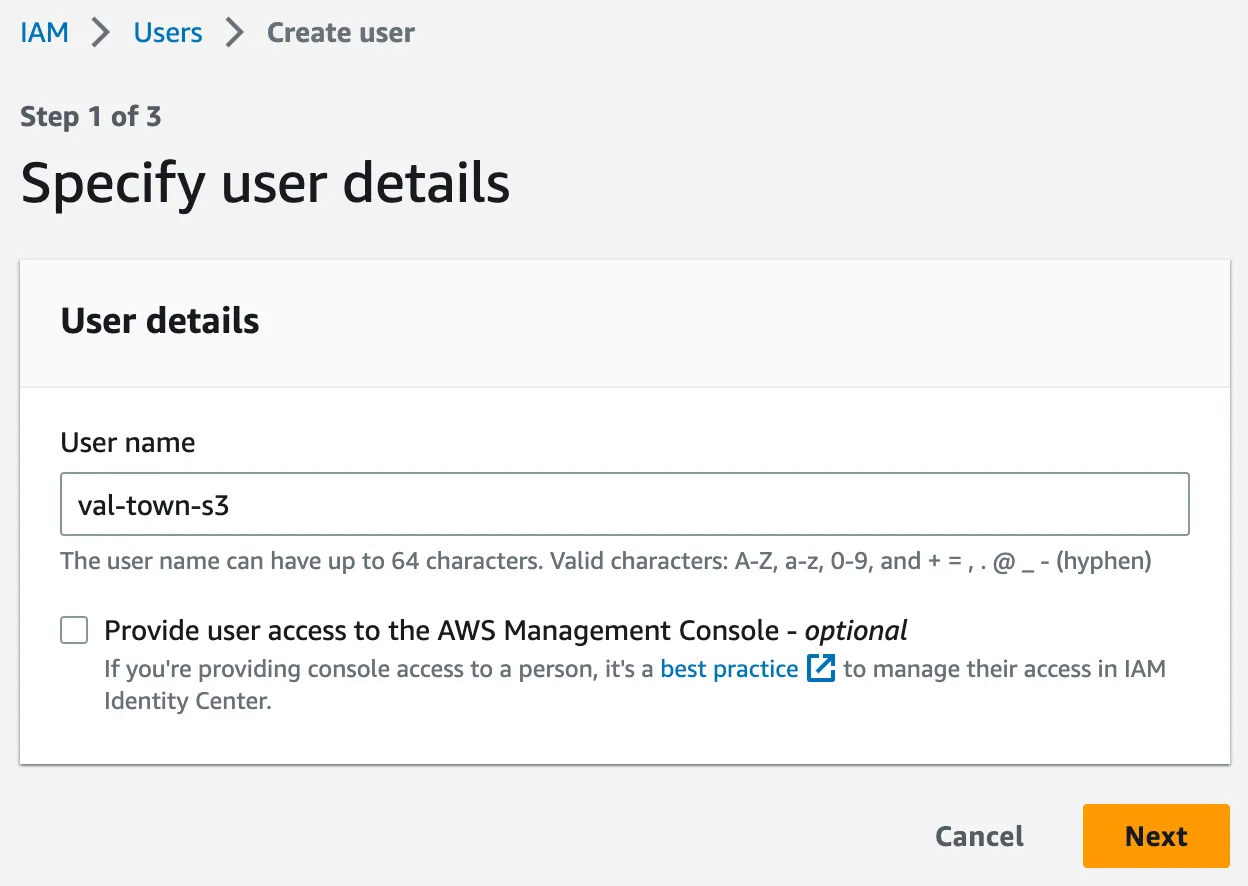
Create an IAM user
Section titled “Create an IAM user”Go to https://console.aws.amazon.com/iamv2/home#/users and click Add users.
Choose a User name.
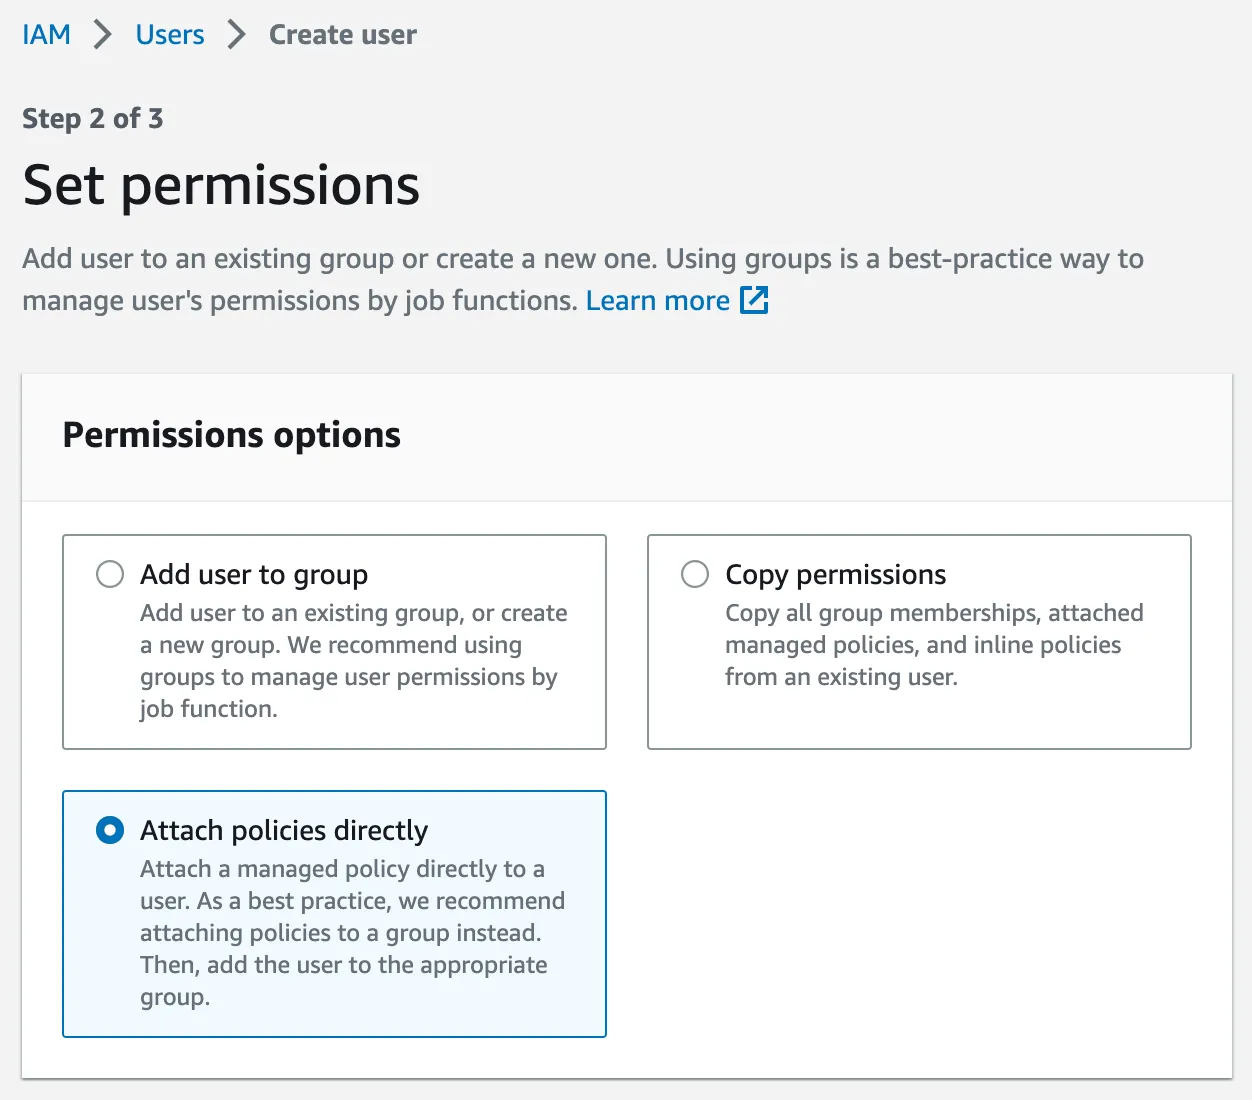
Select Attach policies directly.
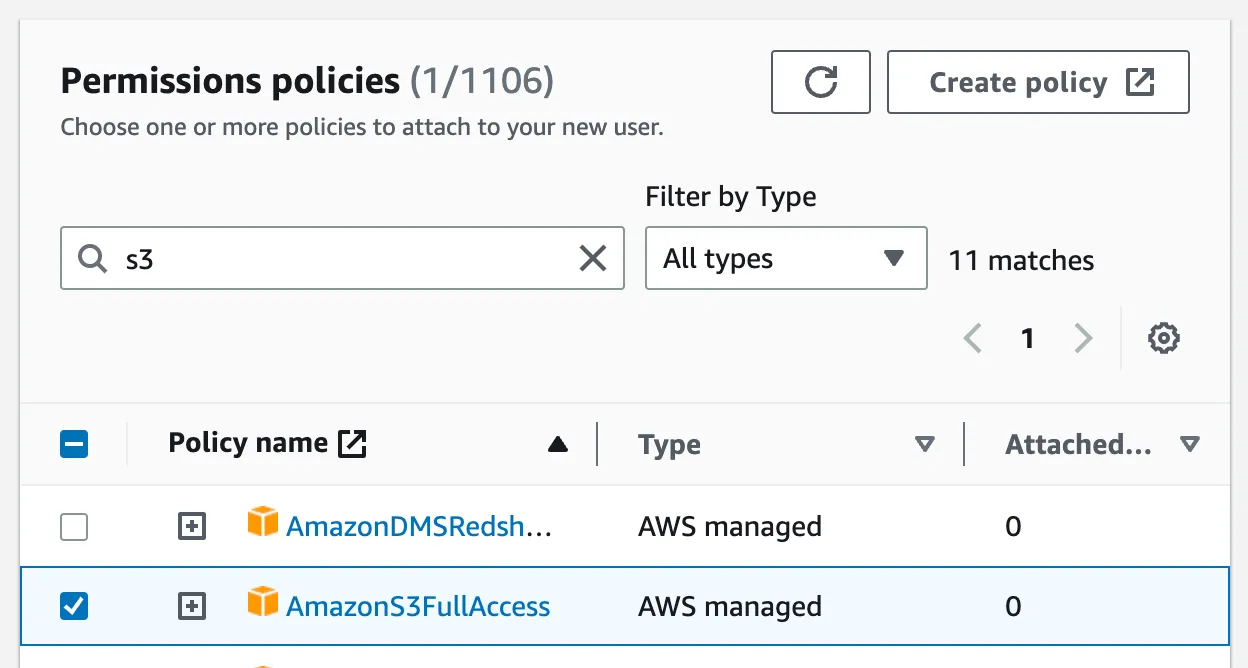
Give this user AmazonS3FullAccess by searching and selecting the checkbox
under Permissions policies.
(This allows this user the highest level of S3 permissions across all of the buckets for the AWS account you’re logged into. Consider setting up granular permissions with AWS’s Bucket owner granting its users bucket permissions guide.)
On the final page, click Create user.
Create access keys for the user
Section titled “Create access keys for the user”Navigate to IAM → Users → <the user you created>.

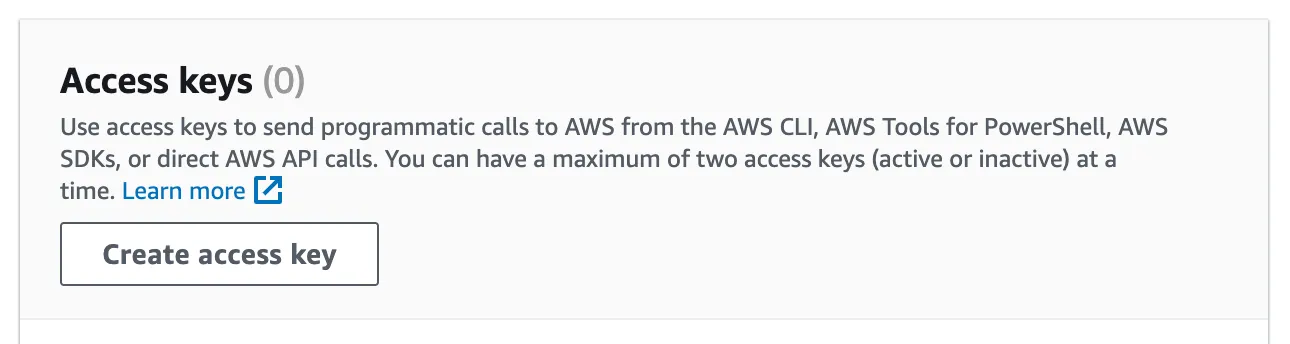
In the Security credentials tab, click Create access key.
In Step 1, select Application running outside AWS.

In Step 2, give your access keys a helpful Description tag value.

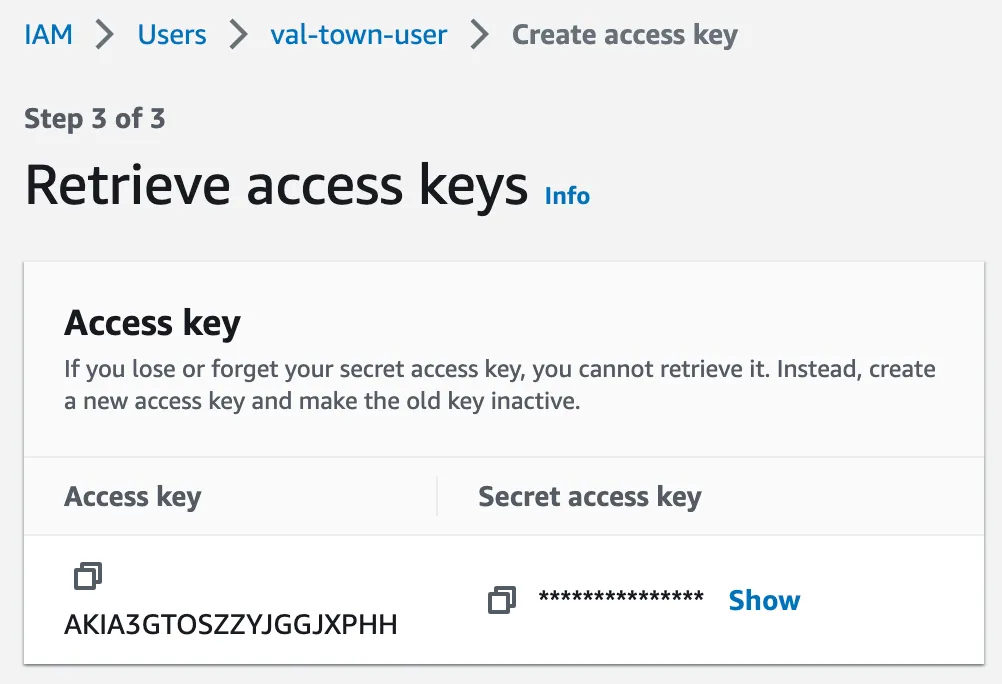
Finally, copy and save the Access key and Secret access key as
Val Town environment variables as awsS3Key and
awsS3Secret respectively.
Upload text file
Section titled “Upload text file”Copy and run the following val in your workspace.
import { S3Client } from "https://deno.land/x/s3_lite_client@0.6.1/mod.ts";
const s3client = new S3Client({  endPoint: `s3.${Deno.env.get("awsS3Region")}.amazonaws.com`,  region: Deno.env.get("awsS3Region"),  bucket: Deno.env.get("awsS3Bucket"),  accessKey: Deno.env.get("awsS3Key"),  secretKey: Deno.env.get("awsS3Secret"),});await s3client.putObject("filename.txt", "File contents");
putObject
takes any of ReadableStream<Uint8Array> | Uint8Array | string.
Download the text file you just uploaded
Section titled “Download the text file you just uploaded”Copy and run the following val in your workspace.
import { S3Client } from "https://deno.land/x/s3_lite_client@0.6.1/mod.ts";
const s3client = new S3Client({  endPoint: `s3.${Deno.env.get("awsS3Region")}.amazonaws.com`,  region: Deno.env.get("awsS3Region"),  bucket: Deno.env.get("awsS3Bucket"),  accessKey: Deno.env.get("awsS3Key"),  secretKey: Deno.env.get("awsS3Secret"),});const res = await s3client.getObject("filename.txt");console.log(await res.text());
getObject
returns a standard HTTP Response object which you consumed with
.text(), .json(), .body (ReadableStream), .arrayBuffer(), or .blob().
More resources
Section titled “More resources”Documentation for the lite S3 client used in this guide can be found here: https://deno.land/x/s3_lite_client@0.6.1. There’s also S3’s documentation.
For all other Val Town help, see our Discord!