This guide shows how to create a Telegram bot that receives and responds to messages on Val Town.
Introduction
Section titled “Introduction”Telegram is a free, privacy-focused messaging app with clients for iOS, Android, Desktop, and Web.
In order to make a Telegram Bot in Val Town, there are three steps:
- Create your bot
- Create your webhook handler on Val Town to receive messages
- Register your webhook handler with Telegram
This guide uses the grammY Telegram Bot Framework , because it has excellent TypeScript support. If you’d prefer to not use any framework, you can refer to an older version of this guide, which makes the HTTP calls to telegram more directly with simpler helper function.
1. Create your bot
Section titled “1. Create your bot”Telegram has the best bot-making experience of any messaging platform. You create a bot by talking to a bot! Appropriately, he’s called @BotFather.
Start a conversation with @BotFather by clicking this link: https://t.me/botfather
You will need to sign up/in to Telegram if you haven’t already.
Type /newbot to create a new bot. You will be asked to give your bot a name and a username as shown below:
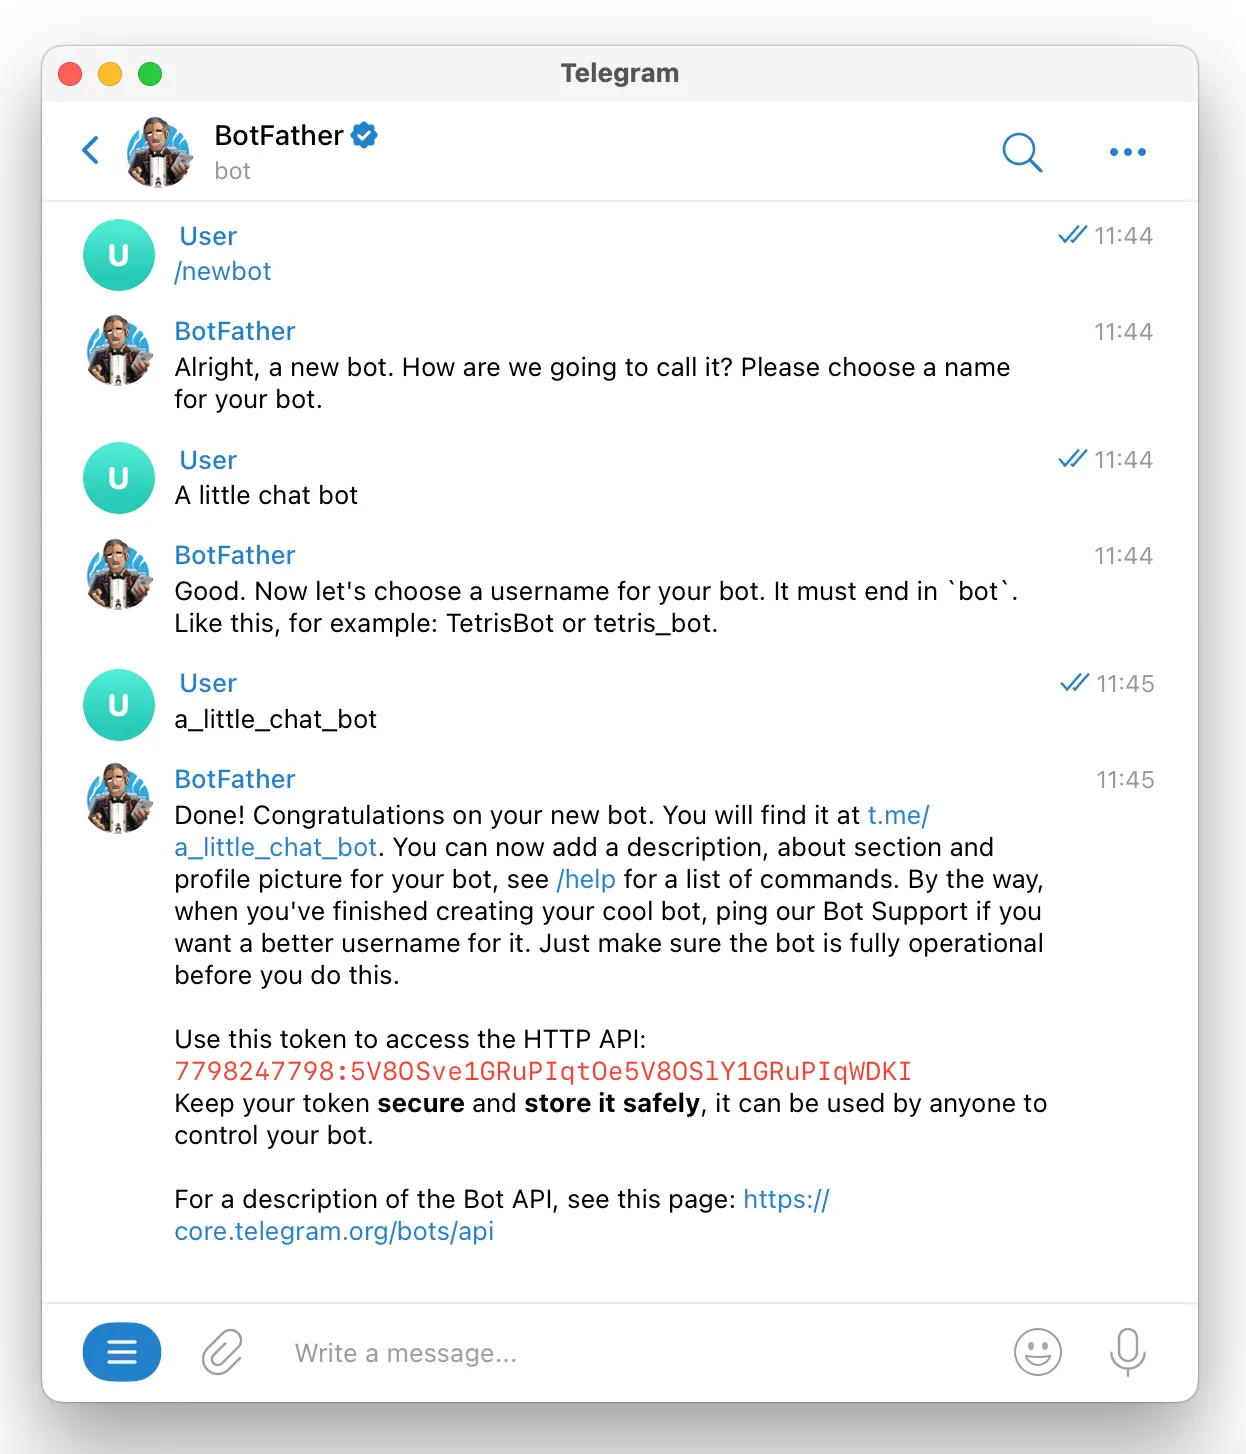
Be sure to note down the token that @BotFather gives you. You will need it in the next step.
2. Create a webhook handler to receive messages
Section titled “2. Create a webhook handler to receive messages”Remix this val to set up your webhook handler: @std/telegramBotStarter
Go to your val’s environment variables. Add the token from the previous step as TELEGRAM_TOKEN.
This is the code you will see in the starter:
import { Bot, webhookCallback,} from "https://deno.land/x/grammy@v1.35.0/mod.ts";
if (!Deno.env.get("TELEGRAM_TOKEN")) { throw new Error("TELEGRAM_TOKEN is not set");}
const bot = new Bot(Deno.env.get("TELEGRAM_TOKEN")!);
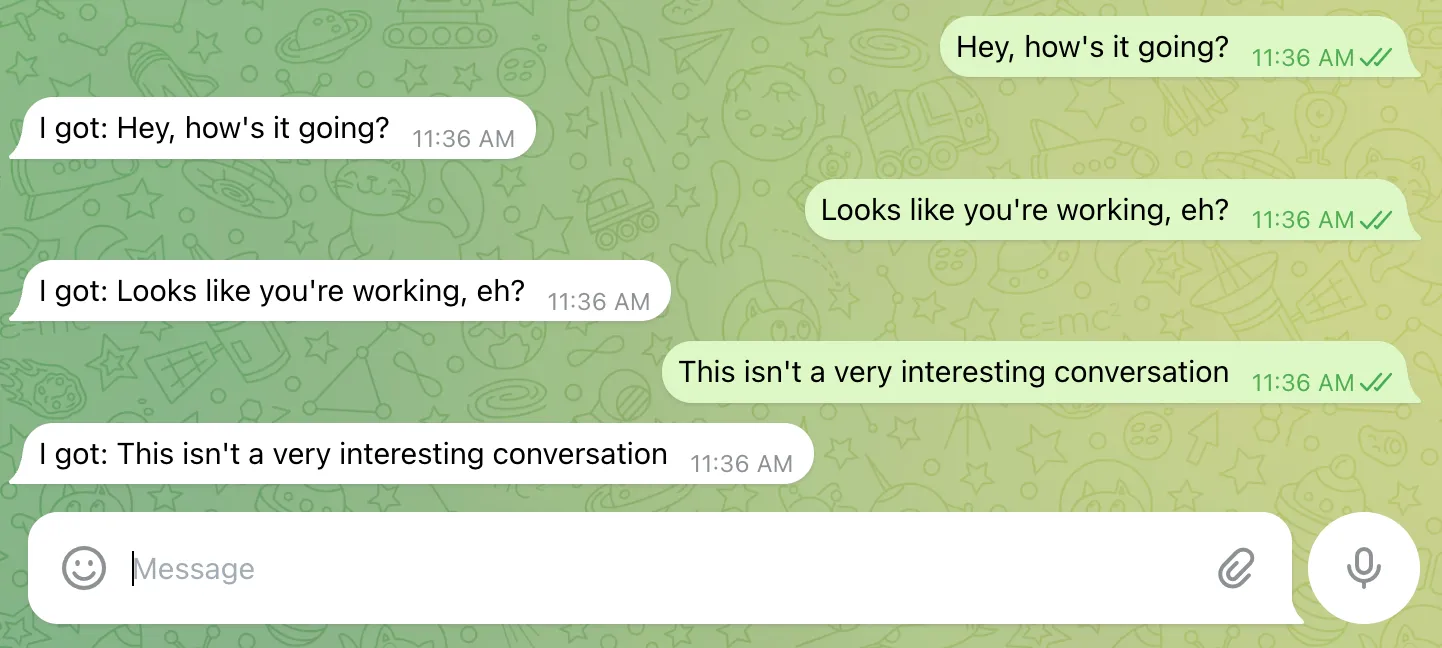
// Handle the /start command.bot.command("start", (ctx) => ctx.reply("Welcome! Up and running."));// Handle other messages.bot.on("message", (ctx) => ctx.reply("I got " + ctx.message.text));
// Use part of the TELEGRAM_TOKEN itself as the secret_token// to authorize webhook requests.const SECRET_TOKEN = Deno.env.get("TELEGRAM_TOKEN")!.split(":")[1];
const handleUpdate = webhookCallback( bot, "std/http", undefined, undefined, SECRET_TOKEN);
let isEndpointSet = false;export default async (req: Request): Promise<Response> => { // Set webhook if it is not set yet // Do this in the HTTP handler so we get the endpoint url from req.url // This is a no-op if nothing's changed if (!isEndpointSet) { await bot.api.setWebhook(req.url, { secret_token: SECRET_TOKEN, }); isEndpointSet = true; } if (req.method === "POST") { return await handleUpdate(req); } return new Response("TODO GET", { status: 200 });};3. Register your webhook handler with Telegram
Section titled “3. Register your webhook handler with Telegram”You may notice in the code above that the webhook handler takes care of registering itself with Telegram. If everything worked properly, your webhook should be registered already and this step is already done 🎉
You can confirm it’s set by using this Telegram Webhook Manager or by simply sending a message to your bot.
Once your webhook is registered, you can optionally comment out or delete the lines of code the that register it in the webhook handler.
Send a message to your bot to check it works!
Section titled “Send a message to your bot to check it works!”It should echo back the message like this:
Not working? Get help on Val Town’s Discord.